BY DIANA AMAYA
Like many fashions born from necessity and practicality, the Shibori method of tie-dye has endured the test of time. From Chinese origins to feudal Japan to the runways of Ulla Johnson, Prada and the like, Shibori is here to stay. While tie-dye has seen many a resurgence throughout the decades, the fun colorful styles reminiscent of the flower power era are not for the faint of heart. For those who prefer cool blues, tonal looks, and easy-to-wear styles, there is Shibori, a traditional Japanese method of indigo dyeing that packs major style and makes a great summer activity for the whole family.
Ready to get in on the Shibori fun? We’ve broken down the basics, including how to dye your own pieces at home and alternative materials you might already have (save yourself a trip to the store)!
Looking for more colorful tie-dye ideas? Check out Fun Tie-Dye Crafts for Families to Try This Summer
How to Do Shibori Tie-Dye
A Brief History
Though Shibori dates back to the 8th century, the dyeing method is most commonly attributed to 17th century feudal Japan during which many people could not afford expensive fabrics like silk. As an alternative they revived their cheaper fabrics by repairing and redyeing to make clothing look new, and so the art of Shibori evolved.
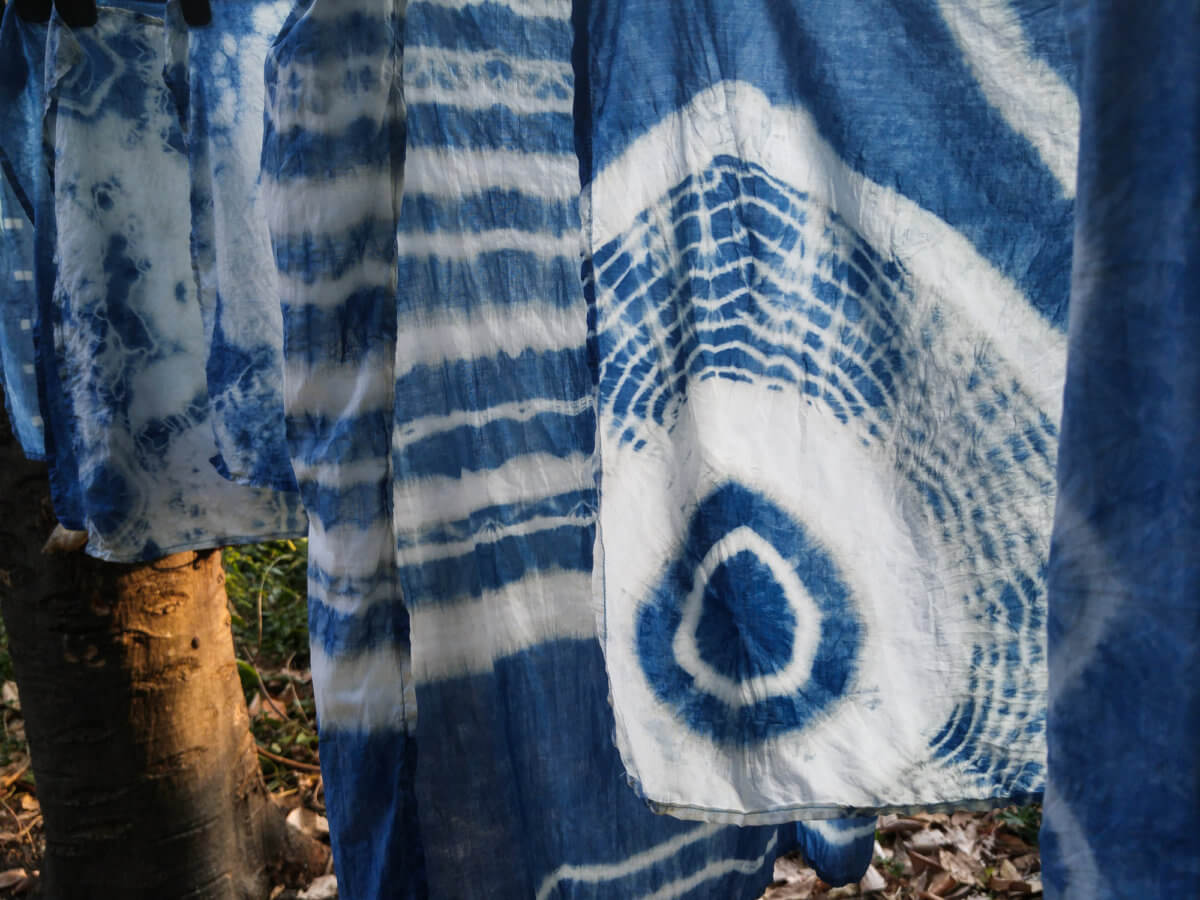
Shibori comes from the root verb shiboru, “to wring, squeeze, press” and refers to a manual resist dyeing technique that involves folding and binding fabric, resulting in impressive beautiful patterns. Traditionally, Shibori patterns are created with indigo dye, but feel free to experiment with other colors!

What to Dye?
The possibilities are endless, just make sure to use natural fibers like cotton and linen for best results. Some fun small projects to start with include napkins, T-shirts, sweatshirts and socks. Or you can start with a large piece of fabric and turn it into stunning home accents like pillows, or even just a decorative cloth to drape over your favorite chair or the foot of the bed for an extra pop of color!
 Credit: Design Intervention Diary
Folding Techniques (and How-To)
Different patterns are created with different folding techniques, and a Google search will yield countless results. To keep things simple we’ve highlighted the three most common here, but don’t be afraid to experiment!
Accordion Fold
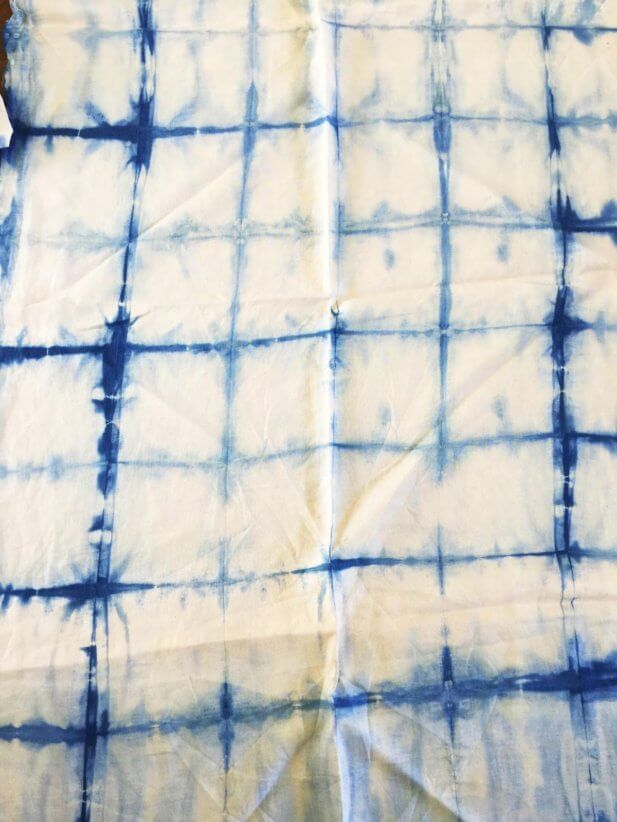
Also known as Itajimi, this technique starts with folding the fabric lengthwise like an accordion. Then fold it again in the other direction, also like an accordion. Most instructions will have you searching for square wood blocks to bind them, but any flat square-shaped object will do, even good old cardboard (just cut it into a square slightly smaller than the size of your folded piece). Bind it all together with rubber bands or string. These create resistance to dye, so the fewer bands/string, the more exposed fabric for dying. Also, different shaped binding materials will yield different results. There’s a lot of room for experimentation which is all part of the fun!


 Credit: Design Intervention Diary
Tying Circles Technique
Start by laying your fabric flat on your work surface. Twist finger-sized bunches of fabric and secure with rubber bands or string. You can twist fabric randomly or in rows for a slightly more uniform pattern. It’s really that simple! Experiment with different sizes and circle placement to your heart’s desire.
 Credit: Design Sponge
Pole-Wrapping Technique
Otherwise known as Arashi (Japanese for Storm), this technique starts by wrapping fabric around a PVC pipe. If you don’t have PVC pipe, try a broom or mop handle, or even a tall cylindrical liquor bottle. Wrap the fabric around the pipe either parallel to the pipe edges or at a diagonal (there are no rules!), and tie a string around the bottom of the fabric that will hold the fabric in place. Continue wrapping the string upwards around the fabric, and then scrunch the fabric down (like a sleeve on your arm), and pull the twine to tighten before tying the string around the top of the fabric. Depending on the length of your piece, it might be easier to scrunch in sections until all the fabric is compacted before tying off the top.

 Credit: Honestly WTF
What You Will Need:
- Indigo dye and optional fixative for longer-lasting color. (We recommend this Tie-dye kit to check off a number of supplies!)
- Two small wood blocks, cardboard, or flat solid shapes — Magna tiles anyone?
- Rubber bands, twine or string
- Rubber gloves
- Two medium to large buckets to hold water and dye
- A PVC pipe or cylindrical item like a tall recycled bottle
- Plastic drop cloths for your work surface (an old shower curtain works too)
- Scissors
- Natural fiber cloth, clothing or accessories
How to:
- Gather your supplies and prepare your work surface with a drop cloth. If you’re blessed with an outdoor space in which to work, even better!
- Follow dye instructions to prepare your indigo dye in one bucket, and cold clean water in another. The sink works for your water as well if you’re working indoors.
- Start with clean and dry fabric and prepare it with your desired folding method. Submerge in clean cold water to rinse and squeeze out the excess.
- Now to the fun part! Wearing your rubber gloves, submerge your fabric fully below the surface of the indigo dye. Most instructions will have you hold the fabric with your hands below the surface for 10 minutes and warn of sediment at the bottom adversely affecting the dye. However, according to Kisha Gianni there is no need to worry. Feel free make things a little easier and dye multiple items at a time, weighing them with heavy items to prevent them from floating to the top.
- Remove fabric after 10 minutes and set it out to oxidize for 20 minutes. Don’t remove your binding just yet — tempting, we know! You’ll start to see a richer hue as it oxidizes. Repeat the dying process for another 10-20 minutes for a deeper indigo.
- Set aside dyed fabrics to oxidize for another 20 minutes to one hour (longer for a deeper indigo).
- Rinse your bound pieces with clean water and squeeze out the excess.
- Now the great unveiling! Snip away at your rubber bands and twine and admire your creations. Set aside or hang your fabrics to dry.
- Once fabric is dry, you can hand wash your pieces with mild detergent or wash them in the washing machine with cold water and without detergent.
- Dry your fabric; line dry or set to a low setting on the dryer, then heat set the dye with an iron on the hottest setting.
This story first appeared on newyorkfamily.com.


